Animate KiCAD PCB in Blender
In the Series "Trying Things Out":
Today I felt like doing something with Blender again, so I thought: why not try animating a KiCAD PCB in Blender? Why? Well… because we can, I suppose. But also because Blender 4.4.3 brought some rendering improvements I wanted to try out—especially the improved denoising. Another day, I’ll probably explore how hard it is to render a beautiful-looking PCB in three.js (last time I checked, the materials all needed to be reworked to look decent). But that’s for a future post.
Here’s the (straightforward) process I followed:
- Check the electronics 3D models in KiCAD’s PCB editor, and download any missing ones (e.g., from UltraLibrarian).
- Install the KiCAD plugin
pcb2blendand export the PCB. - Install the Blender add-on
PCB 3D Importerand import the PCB model into Blender. - Create the animation in Blender.
- The materials were already decent, so I left them as-is.
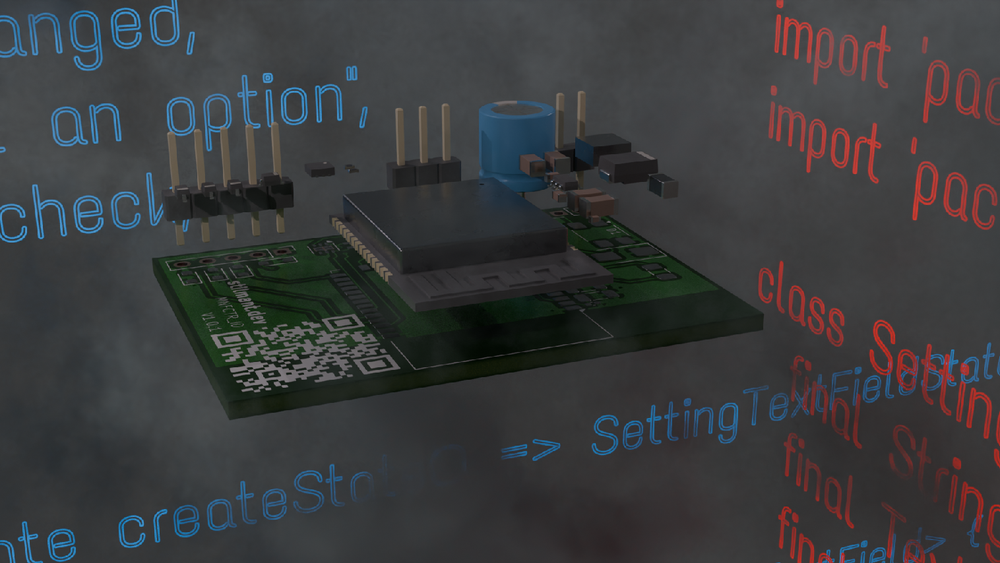
I went with a light vertical exploded view, with the camera orbiting around the PCB. - To add atmospheric fog, I followed this great video (and highly recommend Ryan King's YouTube channel in general—it’s packed with useful info and clear explanations).
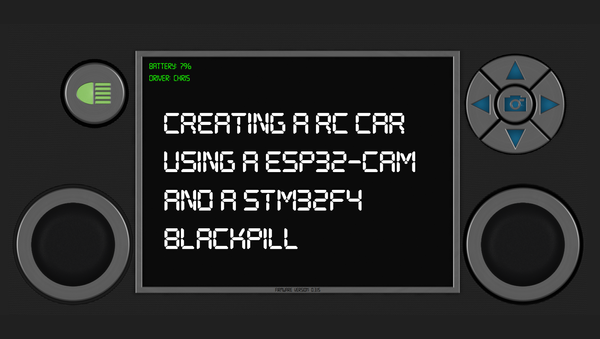
- The text seen in the animation is just Blender’s native text object using the Text Me One font, paired with an Emission shader.
- The materials were already decent, so I left them as-is.
Here’s the result. It took a few hours to render. Sure, it could be improved—with better fog movement, more balanced fog density, and some lighting tweaks—but for a quick test, I think it turned out pretty okay.
0:00
/0:20